Posts in Breads
Oat and Almond Banana Muffins
IMG_6368.jpg

These oat and almond banana muffins have been making a weekly appearance since I found myself in need of a muffin recipe that could be both gluten free and vegan. The banana flavor is quite mild and almonds lend a little richness to each bite. With no refined sugar and wholesome ingredients, these are healthful morsels that you can bake in advance for the week of hurried mornings ahead.

IMG_6407.jpg
IMG_6370.jpg
IMG_6394.jpg
IMG_6372.jpg
IMG_6373.jpg
IMG_6397.jpg
IMG_6375.jpg

Oat and Almond Banana Muffins

makes 12 muffins

  • 4 1/2 cups rolled oats

  • 2 cups whole unsalted almonds

  • 2 bananas

  • 1/2 cup maple syrup

  • 2 tablespoons ground flaxseed mixed with 1/4 cup water*

  • 2 teaspoons vanilla

  • 1 cup unsweetened almond milk*

  • 2 teaspoons apple cider vinegar*

  • 1 teaspoon baking soda*

  • Pinch of salt

  • 1/4 cup coconut oil, melted*

  • Oats and slivered almonds, for topping

    *Note: This recipe is vegan as written, but you may replace the flaxseed and water with 2 eggs if you wish - be sure to omit the apple cider vinegar and reduce the baking soda to 1/2 teaspoon if you do. Additionally, the almond milk can be swapped for cow’s milk, and melted butter or olive oil can be used in place of the coconut oil.

Preheat the oven to 350 degrees and line a 12 count muffin pan with parchment muffin liners.

In a food processor or high speed blender, blend the oats and almonds until they reach a fine, flour-like texture. Add the baking soda and salt, pulsing a few times to mix evenly. Pour in the maple syrup, flaxseed and water mixture, vanilla, almond milk, apple cider vinegar, and melted coconut oil and blend until combined. Finally, add two whole bananas and blend until no lumps are left.

Spoon equal amounts of the batter into the muffin pan and sprinkle a handful of oats and sliced almonds on top the batter before placing in the oven. Bake for 30 minutes, then cool the muffins on a wire rack.

BreadsAdelle RoseComment
Sourdough Pizza Dough
pizza dough-3.jpg

Homemade pizza makes a consistent appearance in my kitchen, be it laden with an array of vegetables or topped with a classic combination of cheese and meat, and I’m always fascinated by new combinations of flavors. This pizza dough is the perfect base for any mélange of ingredients. It’s naturally leavened, meaning it rises with the help of sourdough starter. You can make your own starter if you haven’t tried sourdough baking before or even purchase some online. It may seem a bit daunting at first, but I promise that homemade sourdough pizza is much more forgiving than you think.

Making the dough can be spread out over a number of days if you like, storing it in the fridge in the meantime, allowing you to prep in advance for your next pizza night. I’ve included a few timing suggestions at the bottom of the recipe so you can choose when to make the dough based on what best suits your baking needs.

pizza dough-7.jpg
pizza dough-15.jpg
pizza dough-16.jpg

Sourdough Pizza Dough

makes one large pizza

Step one:

  • 1/2 tablespoon sourdough starter

  • 1/4 cup cool water

  • 1/4 cup plus 2 tablespoons whole wheat flour

Mix the ingredients in a large bowl, cover with plastic wrap or a clean kitchen towel, and set aside for 8 hours to 12 hours.

Step two:

  • Ingredients from step one

  • 1/2 cup lukewarm water

  • 1 1/4 cup plus 2 tablespoons bread flour

  • 1 teaspoon salt

  • Cornmeal, for sprinkling

Mix the ingredients from step one and step two together. It will seem a bit dry at first, but keep kneading until it comes together. Cover the bowl and set aside for 30 minutes. Then, after dipping your hand in some water to keep the dough from sticking to it, pull the edges of the dough over itself in a clockwise fashion until all the edges have been pulled over. Cover again and set aside for another 15 to 30 minutes. Repeat this another three times.

If you want to bake the pizzas in 3 hours or so, allow it to sit at room temperature. If baking the next day or further in advance, place it in the fridge - it will keep for 12 to 48 hours.

After the dough has sat at room temperature for a few hours or in the fridge overnight, take out the dough and place it on a floured surface. Pull the edges into the middle, in four parts, to make a sphere. Flip the dough over, and tighten the top of the dough by pulling it towards you on the floured surface. Allow to rest for an hour or place it back in the fridge to bake the next day.

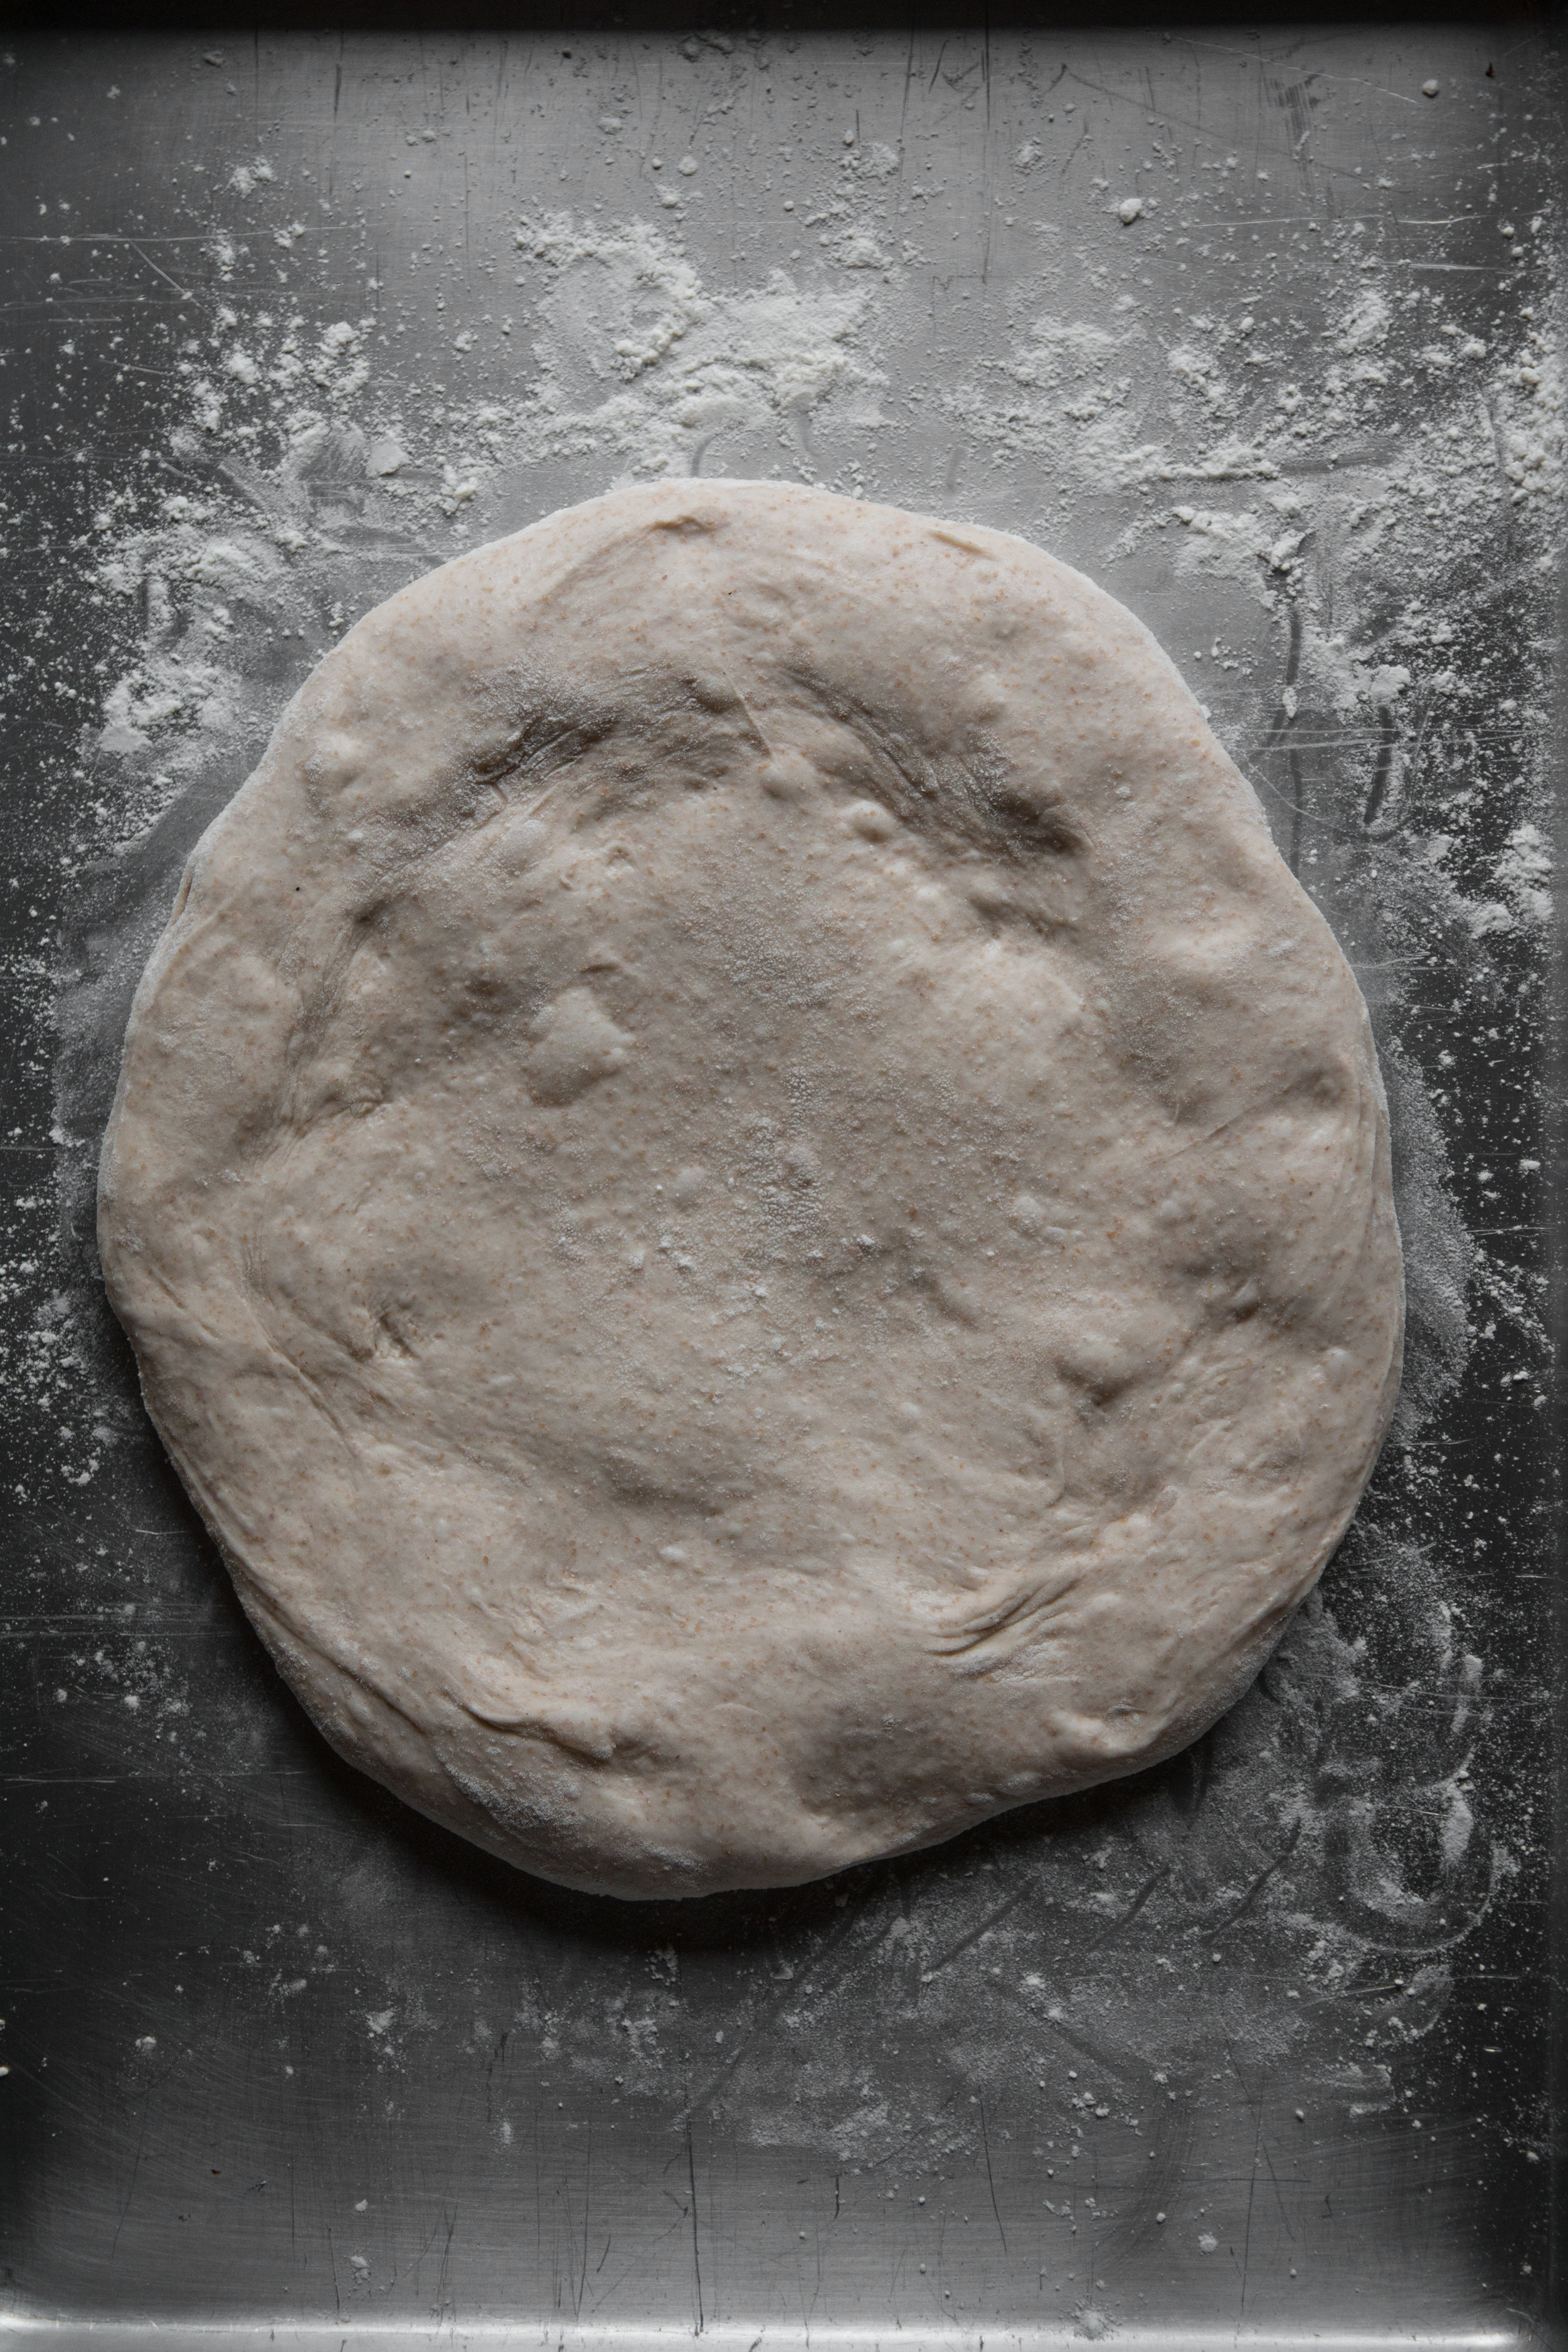
After resting the dough, gently begin pulling it outwards, not flattening the edges too much so that it can form a nice crust. Continue pulling gently until the dough is as large and as thin as you desire for your pizza. Flour the baking sheet or pizza pan with cornmeal, then set the stretched dough on top. Your pizza is now ready to assemble with toppings.

Timing suggestions:

Option one: Perform step one in the morning, step two in the evening then refrigerate the dough overnight, and bake the pizza the next day.

Option two: Perform step one in the morning, step two in the evening then refrigerate the dough overnight, and bake the pizza two days later.

Option three: Perform step one in the evening, step two in the morning the next day, and bake the pizza that day.

Option four: Perform step one in the evening, step two in the morning the next day, and bake the pizza the day after.

BreadsAdelle RoseComment
Cardamom Rolls with Medjool Date Filling
IMG_3902.jpg

Over the holidays, I conjured up a recipe for these cardamom rolls after thinking how delicious a sweet roll would be with a medjool date filling. Traditionally, cardamom rolls are usually made with a butter and sugar filling, perhaps even with a dusting more of cardamom inside. Switching the traditional filling for one made with soft, sticky caramel-flavored medjool dates gives these rolls a hint of unexpected flavors, a bit of je ne sais quoi, if you will. Not too sweet but just sweet enough, they’re a delicious treat for a special Saturday breakfast or brunch with hot drinks and good company.


IMG_3903.jpg
IMG_3923.jpg

Cardamom Rolls with Medjool Date Filling

Makes approximately 12 rolls

For the dough:

  • 2 cups milk

  • 2 packets active dry yeast

  • 1 teaspoon vanilla

  • 1 egg

  • 5 3/4 cup all purpose flour

  • 1/2 cup sugar

  • 1 1/2 teaspoons salt

  • 1 tablespoon ground cardamom

  • 1 1/2 cups cold salted butter, cut into 1/2 inch cubes.

For the filling:

  • 15 medjool dates, pitted

  • 3 tablespoons milk

  • Boiling hot water

For the egg wash:

  • 1 egg

  • 1 tablespoon water

  • Sugar, for dusting after the egg wash

Before mixing the dough or making the filling, soften the pitted dates by placing them in a bowl and covering completely with boiled water. Set aside to cool and soften while you do the following:

Combine the milk and yeast in a bowl, stirring to mix until the yeast is completely dissolved. Whisk in the egg, then the vanilla. Add this mixture to the bowl of a stand mixer with a dough hook attachment.

Add the flour, sugar, salt, and cardamom to the mixer’s bowl and knead on the lowest speed for 8 minutes. Add the cubed butter, and continue to mix the dough for 8 minutes or until the butter has combined with the dough. Allow the dough to rest for 20 minutes.

While the dough is resting, make the date filling. Strain the water from the dates and place in a food processor or blender and add the milk. Blend until the dates have turned into a spreadable paste, adding more milk if the mixture looks too thick to easily spread.

After resting, pour the dough out onto a floured surface and roll with a rolling pin into a rectangle shape that is approximately 12 inches by 24 inches. Once rolled, dot the dough with the date paste. Spread with a butter knife or a bench scraper so that the dough is entirely covered.

Fold one third of the dough up and over the middle, then fold the remaining third over the first folded third. The dough should look like a folded letter.

Roll the dough into a square shape approximately 12 inches across each way. Cut strips about 1 inch wide, stretching each piece before wrapping the dough in a circular motion around itself. Place the rolls on a parchment covered baking sheet, giving them space between each roll as they may double in size, and allow to rise for 2 hours or overnight in the refrigerator (if keeping in the fridge to bake the next morning, you must give the dough 1 hour to rise after being taken out of the fridge).

While the dough rises, preheat the oven to 400 degrees.

Whisk together the egg and tablespoon of water and brush each roll with the egg wash. Dust with a bit of sugar, and bake for 12 to 15 minutes or until golden. Serve warm.